Pilates For Hip Pain (Step By Step Guide)
If you’re suffering from hip pain, you might be wondering what type of exercises will be of benefit to you without causing further discomfort.
Many exercises and sports put too much stress and strain on your hip joints and can only make the pain and injuries worse.
However, Pilates is a low impact form of exercise that is an excellent way to help with pains in your hips.
In this article, we will look at why Pilates can help and detail four easy exercises you can do at home.
Is Pilates Good For Hip Pain?
Yes! Pilates is a great exercise to help with hip pain. It can help ease discomfort caused by various issues found in the muscles, ligaments, tendons, or the joint itself.
Pilates helps increase your flexibility and will build strength in the muscles surrounding and supporting your hip bone.
This includes the hip flexors, and in turn, this will help you to lift your knees and bend at your hips more easily and smoothly.
It will also help strengthen your core muscles and your glutes to provide more stability throughout your body.
The smooth and controlled movements of Pilates will slowly improve the range of movement and mobility you have in your hips without causing them the same stress and strain that many other types of exercise do.
This also makes Pilates a great choice when you’re recovering from an injury.
Pilates Exercises For Hip Pain
Let’s now look at four Pilates exercises that will help you with your hip pain.
If you are currently being treated for any hip problems, however, we would advise consulting your physician before starting any kind of exercise.
If any of these exercises cause you more pain or discomfort, stop immediately and consult with a physician or a qualified Pilates instructor.
1. Femur Arcs
This is one of the more straightforward Pilates exercises you can do that will help your hips.
Begin by lying flat on your back with your knees bent. Your feet should be aligned with your hips so that your body is straight and not twisted to one side.
Make sure that your spine is in a neutral position so that your neck, middle, and lower backs all follow their natural curves.
When you’re comfortably in position, press your left foot down onto the floor and raise your right foot. Pull your right knee up so that it is at a 90-degree angle.
Hold for a breath and then slowly lower your leg back down before repeating on the opposite side.
Try to time your movements with your breaths and keep your movements slow and controlled. If your hips click as you raise your knees, restrict the level of movement.
You can do this by placing your foot on a higher platform, such as a chair or block, instead of being flat on the floor.
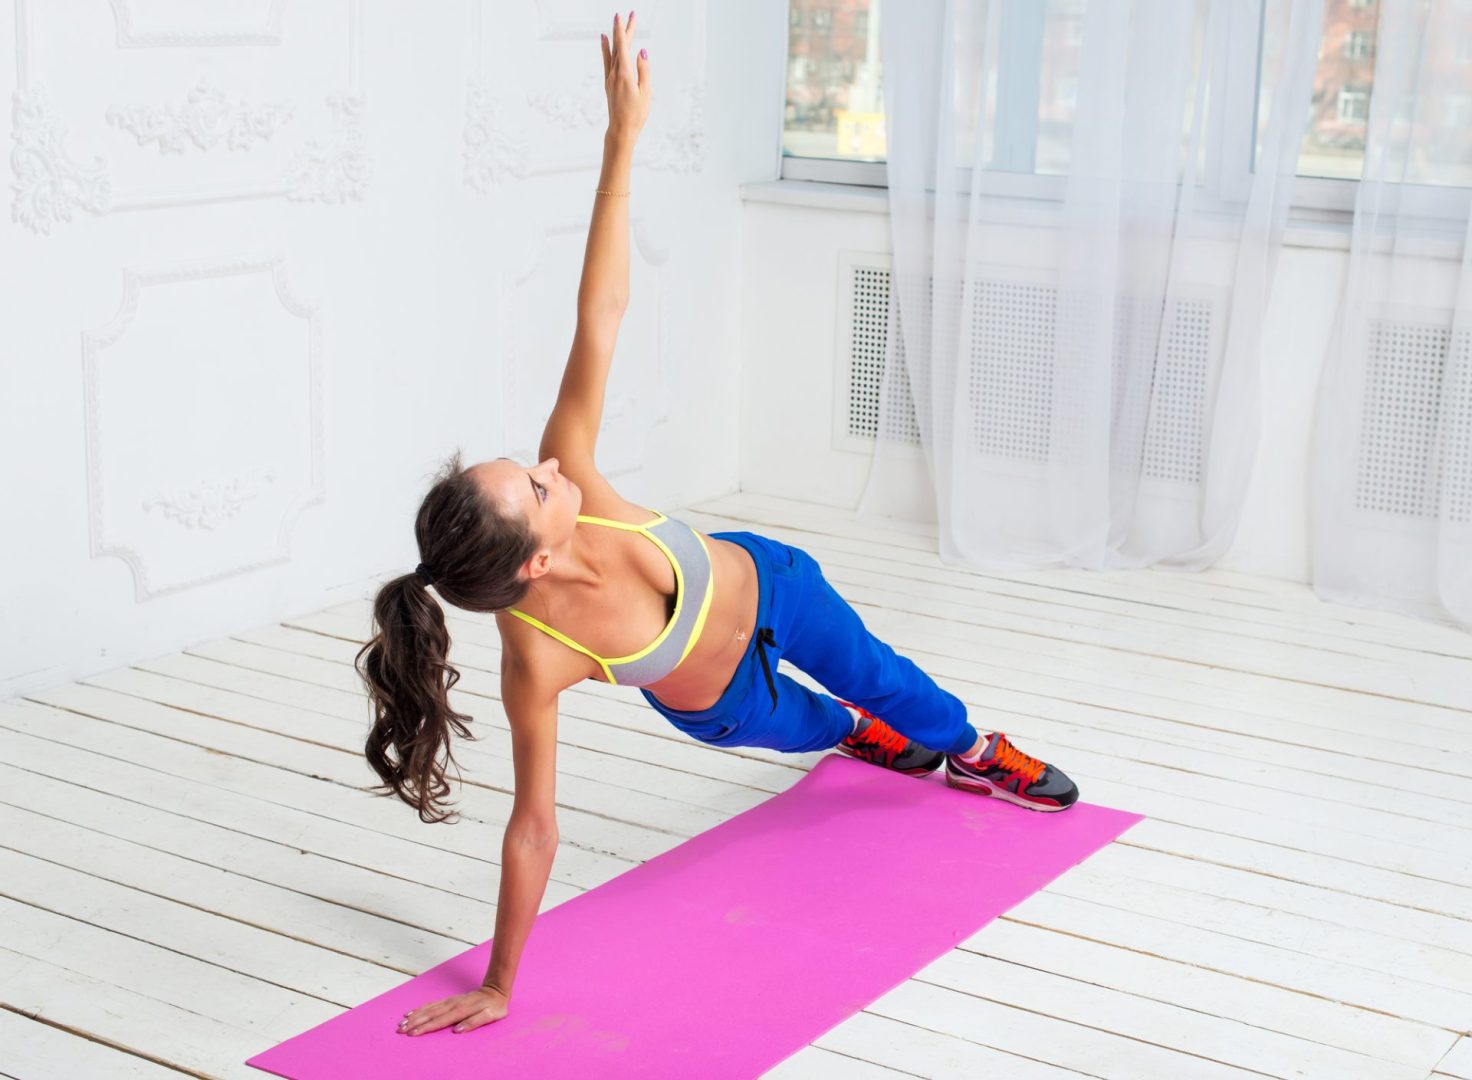
2. Side Lying Glutes
Your glute muscles support your hip and this exercise will help strengthen them.
There are three different starting positions with this exercise, depending on your strength and skill level.
The easiest position begins by lying on your left hand side with a pillow underneath your head.
For the medium difficulty, lift your body up so that you are leaning on your left forearm and elbow.
For the most difficult position, lift yourself up so your body is supported by your left hand only.
When you’ve found the best position for you, make sure that your left leg, the knee nearest the floor, is bent at the knee.
Then stretch out your right leg so it is kept straight and your toes are pointed in the opposite direction from the top of your head.
Lift your leg slowly but don’t overstretch. Your pelvis should remain in its neutral position so that your hip isn’t pulled out of position.
You can also circle your ankle while your leg is in the air. Slowly lower your leg back down and repeat before switching sides.
Make sure you keep your spine in alignment and don’t twist or sprain your spine.
Don’t worry if you have to start this position by lying down fully as you will still get the benefit of this position.
As you get more experienced and your hips and other muscles become stronger, you can change to the other more difficult positions.
3. Hip Flexor
This exercise begins on your knees. Place your left foot forward with your knee bent at a 90-degree angle. Your right leg should trail behind with your shin pressed against the floor.
Make sure that your tailbone and spine are aligned and slowly drive your hip forward.
Your torso will lean forward but your back should remain straight throughout this as the movement is in your hips, not your back.
Hold the position for around 30 seconds and repeat five times before switching over so that your right foot is forward.
If you struggle with your balance while doing this exercise, you can use a chair or wall for balance.
Remember that the movement should come from your pelvis, not your back, and don’t lean backwards as you move.
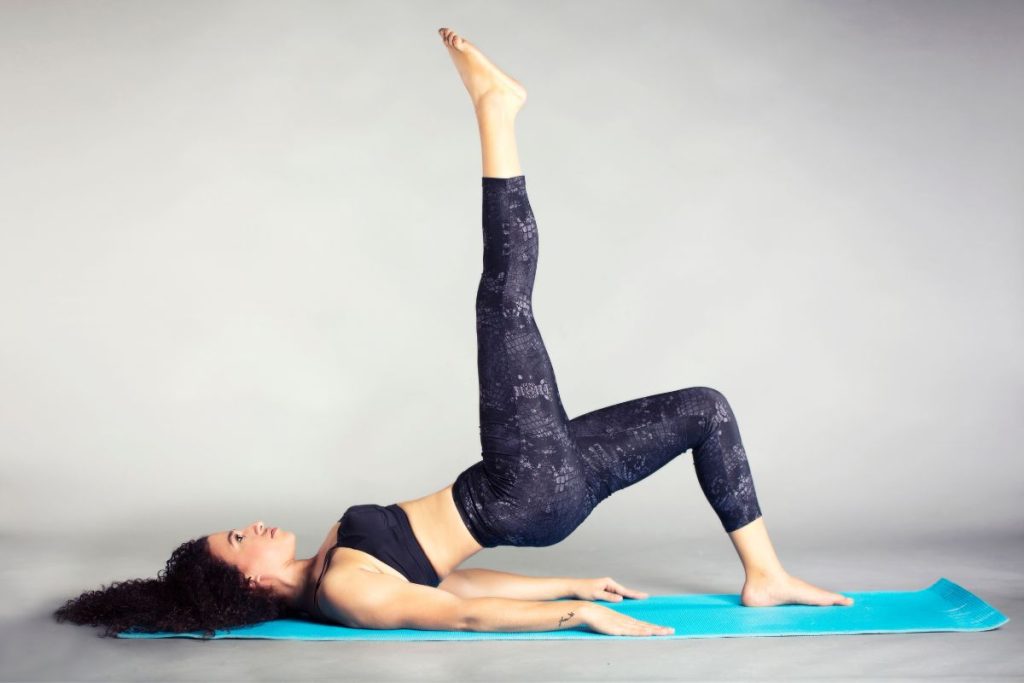
4. Single Leg Bridge
If you only include one of these four exercises into your exercise routine, this is the one that we would suggest.
It’s easy to do but is very effective and will help strengthen your hips and make it easier to walk and run.
Begin by lying flat on your back with both of your feet flat on the floor. Lift your left leg with your knee bent at a 90 degree angle and hold it in the air.
Keep your right foot firmly on the ground and use it to lift your body up so that your hips are in the air. Remember to keep your upper body relaxed and your shoulders on the floor.
Take a deep breath and hold the position before slowly lowering your hips back to the floor. Do this five times and then repeat on the other side.
If this is too difficult, you can modify the exercise.
Instead of having your foot in the air and one on the floor while you press up, you can instead place both of them onto a solid surface for extra support.
A chair or the armrest of a sofa is perfect for this. You should find that the extra height will give you more leverage and make lifting yourself easier.
If this is still too tricky, don’t panic! Instead try keeping both feet on the floor and raise your hips that way instead.
Once your hips are in the air, you can try to lift one of your legs then if you wish.
Final Thoughts
Pilates is a great way to help reduce hip pain and strengthen the various muscles, tendons, and ligaments that surround the hips.
There are many different Pilates positions that you can choose from and we listed four of the best in this article.
You can easily do Pilates from home and don’t need any special equipment for it to be effective.