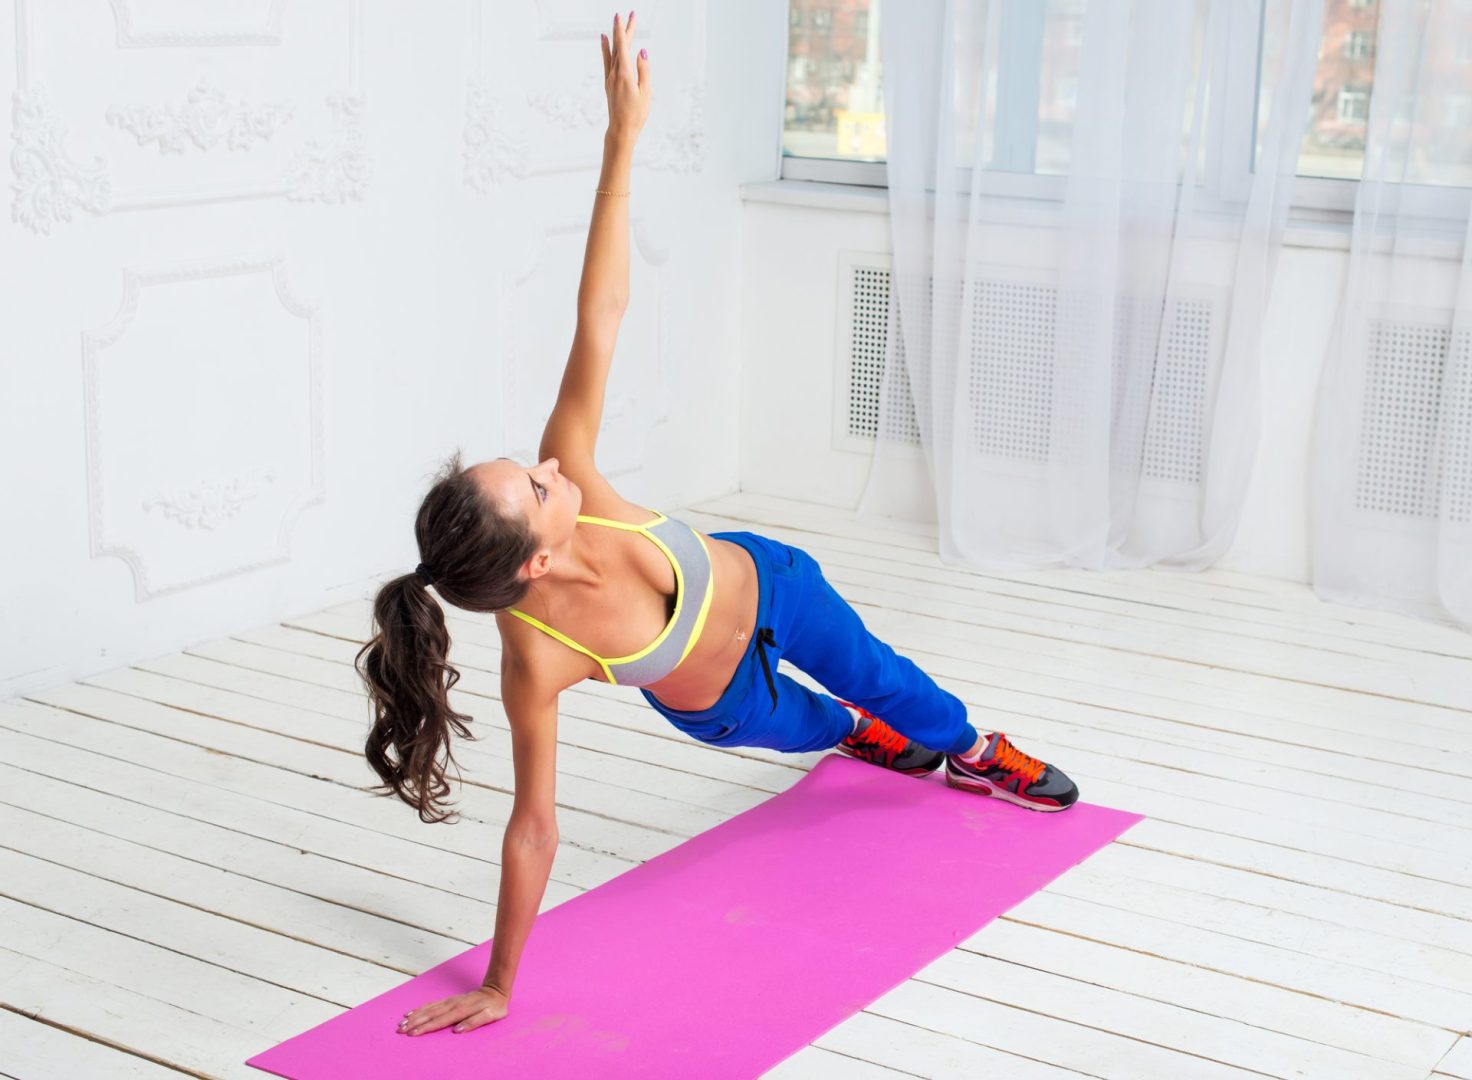
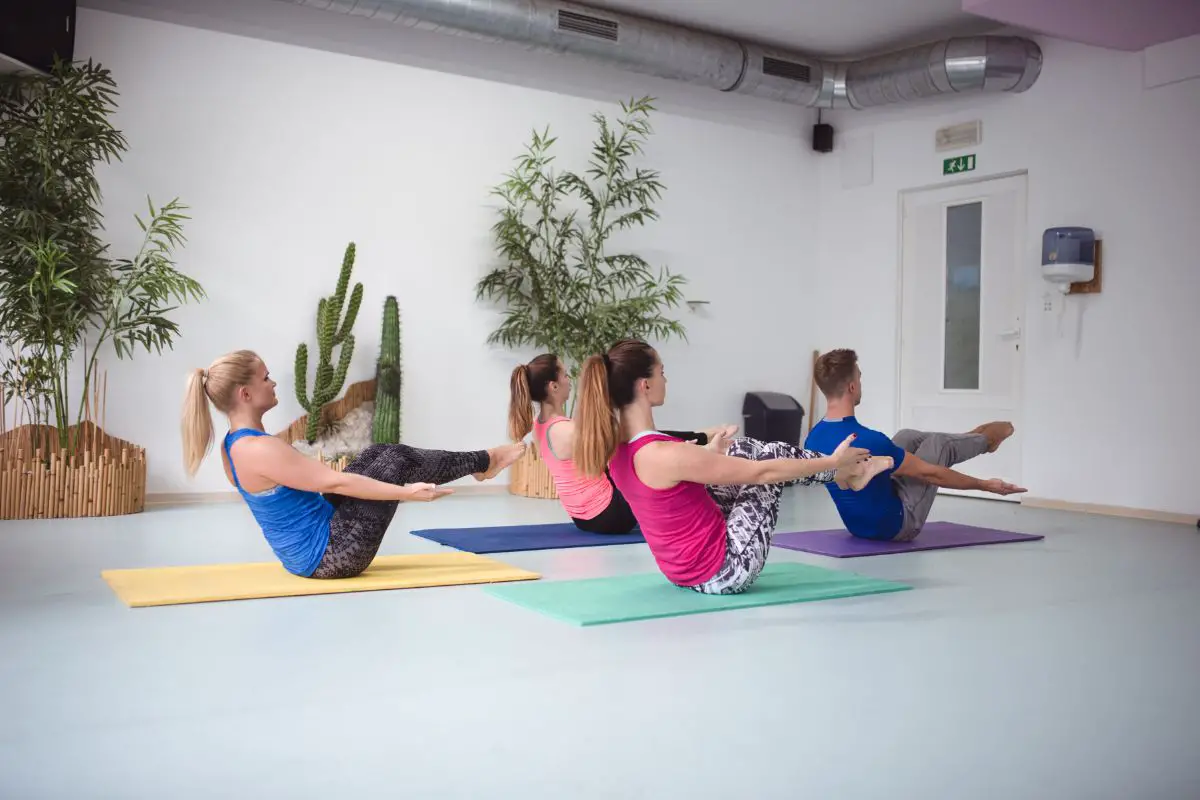
Exercise
When you have an injury or chronic pain, exercising can often help that area of strain heal. However, finding the right method to help instead of harm that area of your body can be tricky. One wrong turn and you could make your pain worse.
If you struggle with painful knees, pilates can help you strengthen the muscles around this part of your body, giving your knees more strength.
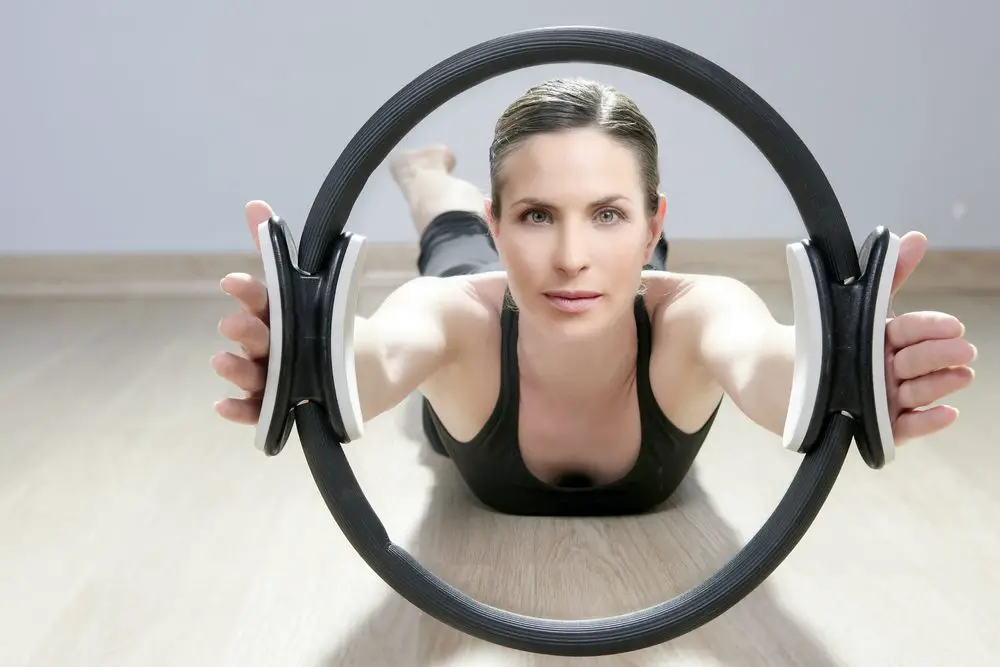
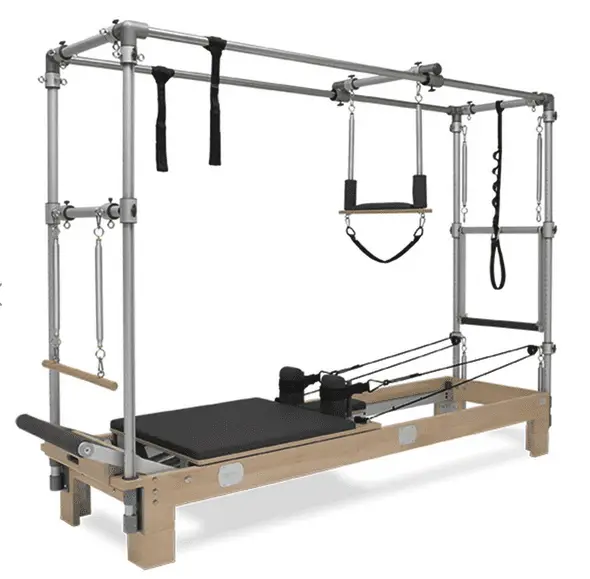
What Is Pilates?
Pilates is similar to yoga as it focuses on posture, flexibility, and balance, however the difference between the two lies in the additional core strength exercises.
Unlike weight lifting, the likelihood of injury caused by this exercise is very low. And unlike yoga, mindfulness isn’t the only desired outcome from this activity.
Pilates is a mixture of both physical exercises and mental release while being considered low energy.
This type of exercise was originally created by a German gymnast and carpenter in the early 1900s.
He created the exercises mainly for soldiers and dancers while he lived in the UK, but the workout really kicked off when he moved to the US.
Pilates is often called Contrology as this was the name Joseph Pilates originally used.
Why Pilates Can Help Your Painful Joints
Pilates is often prescribed to people with chronic pain such as arthritis. This is because the exercise aims to improve your muscle strength which allows your body to hold itself with greater ease.
Through pilates, you can work through your tender muscles and make them looser and more developed at the same time.
The process takes some time to complete, however, after a couple of months you should notice a change in your pain.
Along with reliving your pain, you can use pilates to prevent pain too. If you are concerned about your balance, flexibility, and muscle strength, you can use this exercise to get stronger in all three categories to prevent accidents or injuries.
Ideally completing these exercises 3 times a week for 8 weeks should be enough to reduce your pain and improve your quality of life. From that point, you should continue on the same routine to maintain your reduced pain.
4 Exercises For Painful Knees
The four exercises we want to show you are designed for beginners. They are easy movements that will help you gain strength in your knees, however, you may want to take the exercise slowly depending on your pain levels.
Consistency and form are more important than speed – remember that.
The Clam
This exercise works on your outer thigh. This particular group of muscles helps you stay balanced and provide strength to your knee’s movement. The Clam is a slow workout, and if you feel any pain you should stop.
Here is the method:
Step 1 – Using a mat beneath your body, lie on your side.
Step 2 – Bend your knees to a 45-degree angle.
Step 3 – Ensure your legs are on top of one another.
Step 4 – Lift both of your heels off the ground.
Step 5 – Keep your heels together, but lift your top knee up to open your legs – Keep your bottom leg where it is.
Step 6 – Squeeze your glutes (your muscles around your bottom).
Step 7 – Hold for 5 seconds
Step 8 – Release and relax for 10 seconds.
Do this 10 times.
As this routine becomes easier, extend your hold time and reduce your repetition. Once that becomes easier again, keep your elongated hold times and increase your repetitions.
The Inner Thigh Circle
Next, we will work on the inner thighs. These muscles help to keep you balanced and stable. Because of their unusual placement, these muscles are very rarely worked upon, which means they often become weak.
To complete this workout, follow this method:
Step 1 – Using a mat beneath your body, lie on your side.
Step 2 – Using your top leg, place your foot onto the ground by bending it over your bottom leg.
Step 3 – Lift your bottom leg up into the air, ideally, it should almost touch your knee.
Step 4 – Don’t hold, instead move your bottom leg around in a circle.
Step 5 – Relax
Complete 5 lifts on each leg, and 10 circles on each leg.
The Straight Leg Raise
The next exercise focuses on your quadriceps. This is the muscle on top of your thighs. They help you maintain balance while sitting down and standing up.
Here is the method:
Step 1 – Using a mat beneath your body, lie on your back.
Step 2 – Use your forearms to lift your body slightly off the ground
Step 3 – Squeeze your all muscles and your thigh muscles.
Step 4 – Lift one leg into the air, hold it for 5 seconds, and then lower it.
Step 5 – Switch legs and repeat step 4.
Do this exercise 15 times on each leg. To raise the difficulty level, increase the repetitions. During the movement, make sure to keep your legs straight as a bent leg will not be stretching your quadriceps as intended.
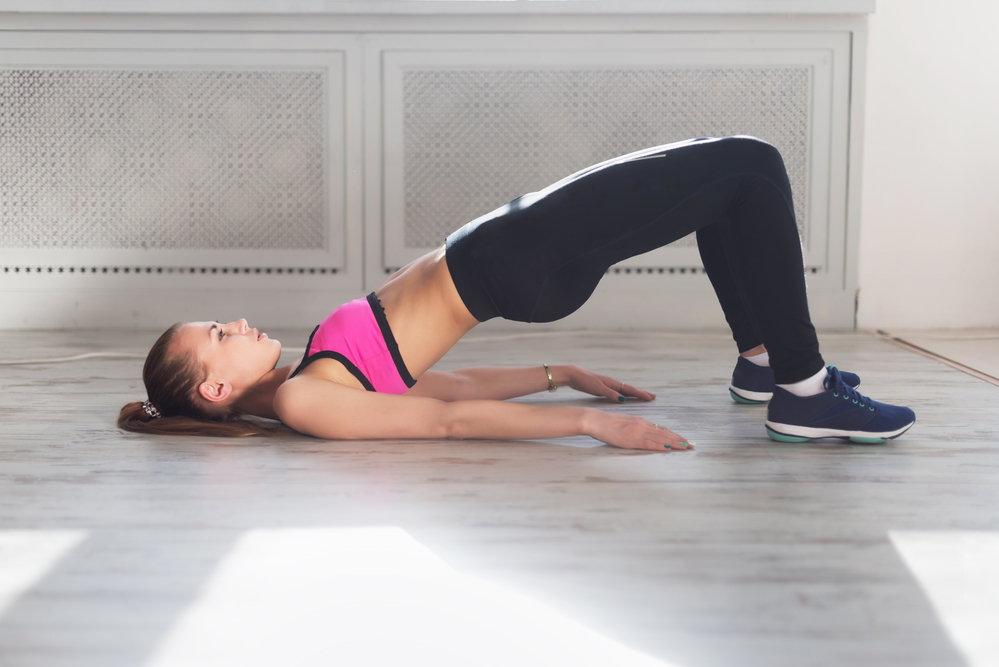
The Shoulder Bridge
The Shoulder Bridge is the only exercise on our lift that genuinely needs equipment to work. For the other 3 exercises, you do not need a mat to complete the method, however, the added protection makes the movement more comfortable.
In this exercise, you will need an exercise ball. Exercise balls are great for relieving tension, so take advantage of the additional options it gives you, should you decide to buy one.
Here is the method:
Step 1 – Using a mat beneath your body, lie on your back.
Step 2 – Put the ball between your knees.
Step 3 – Bend your knees and keep your feet flat on the ground.
Step 4 – Squeeze the ball and lift your hips up into the air at the same time.
Step 5 – During the motion, squeeze your hamstrings and your glutes (your leg and bottom muscles).
Step 6 – Hold for 5 seconds.
Step 7 – Low yourself back to the ground.
Do this 10 times. To increase the difficulty, increase the repetitions or hold times.
What To Remember Before You Start
Before you get started on any of these exercises, keep the following advice in mind. If you feel any pain, stop. The idea of “no pain no gain” is irrelevant in this context as we don’t want to worsen your condition.
When the pain starts, the exercise stops.
Secondly, if the exercises we have offered are too difficult, reduce the repetitions. As we said before, consistency is more important than speed. Do what you can and turn this method into goals instead of expectations.
Lastly, make sure to stretch before and after these exercises. Stretching warms your muscles up and allows them to cool down. Without this extra care, your muscles will be very sore in a couple of hours after completing the workout.
Summary
These four exercises will help you gain strength in your knees which in turn will reduce any pain you are currently experiencing.
Remember that these methods will take at least 8 weeks to create the desired effects, and if you are feeling any pain during the experience you should reduce the repetitions.
The aim is to heal your body through exercise, so go at your own pace.