Health
How To Stretch Your Middle Back
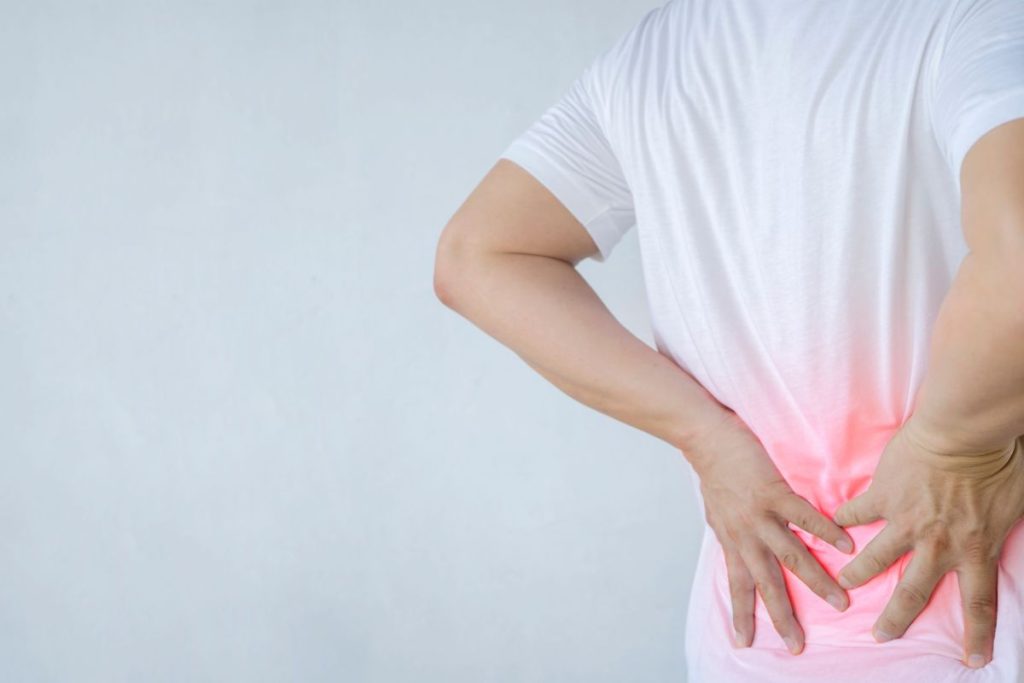
Back pains can significantly impact your way of living, especially if you are a particularly active person.
In this article, we will discuss specific stretches that can help manage middle back pain, as well as looking into what actually causes these issues.
So, let’s get started.
What Causes Pain In The Middle Back?
There are a number of factors that can influence a person with back pain: some are due to lifestyle choices, while others are, unfortunately, unavoidable.
Here are some of the factors that may cause pain in your middle back:
- Obesity
- Age
- Poor posture
- Sprained muscles
- Injuries
- Herniated disk in your spine
- Osteoarthritis
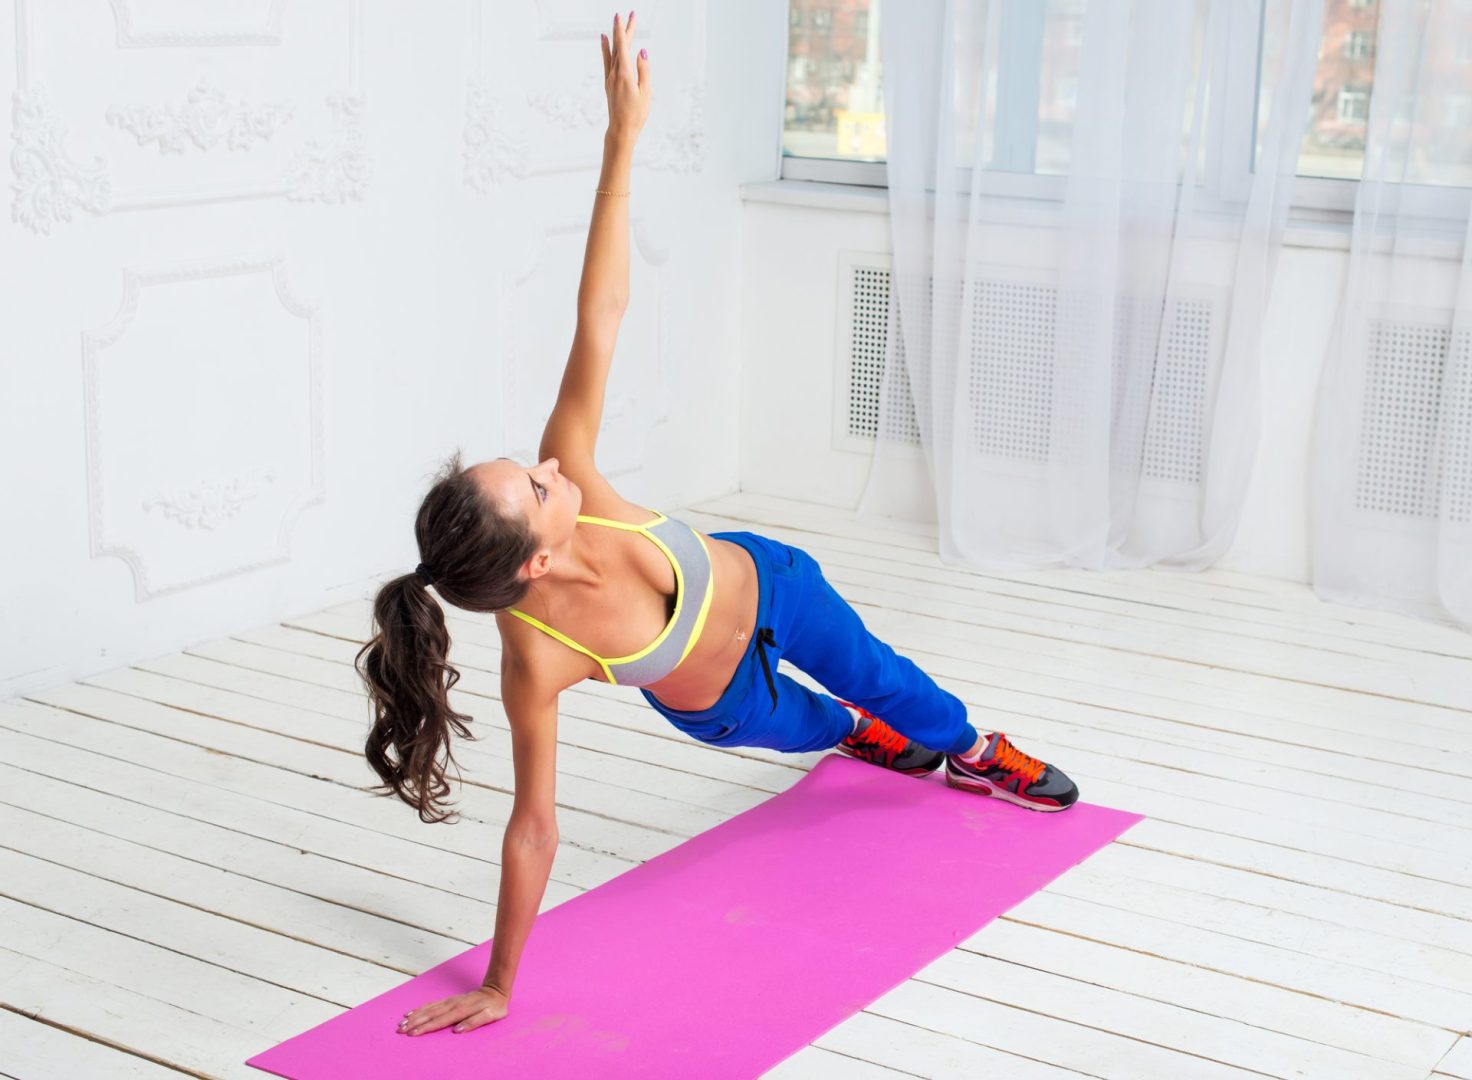
Stretches For The Middle Back
Here are 7 stretches that can alleviate back pain.
Make sure you follow these instructions carefully, and remember not to push yourself too hard for the first couple of times. Doing so many cause further damage and pain.
The ‘Bridge’ Stretch
The bridge stretch can contribute to improving and strengthening the muscles in your glutes and midsection, as well as the muscles that pass along the backbone.
- First, lie down on your back, knees bent with your feet flat on the ground, drawn in close to your buttocks as much as possible. Your arms should be placed by the sides.
- Next, lift your pelvis up toward the ceiling while rising your torso higher until the back is completely lifted off the ground. Squeeze your buttocks while doing this. The weight of your body will now be supported by your shoulders. Maintain this position for 5 seconds while concentrating on clenching your buttocks.
- Gradually lower your torso back down, allowing each vertebra to reach the floor one at a time until your back is laid flat on the ground once more.
- Repeat this stretch around 12 to 15 times, for each set. You should aim for 3 sets a day once you feel comfortable.
The ‘Cat-Cow’ Pose
The Cat-Cow Pose is an easy and moderate yoga technique that will gradually improve your flexibility. It works to extend and relax your shoulders, as well as the muscles that run along the spine’s curvature.
- Start by getting down on your hands and knees, with your knees under your hips, and your wrists beneath your shoulders. To equally distribute tension, spread your fingers widely and compress them between your fingertips.
- Allow your stomach to sink towards the floor as you inhale, and your buttocks to protrude outwards. Then, looking forward, elevate your head and shoulders while pushing your chest outwards.
- Exhale deeply as you arch your back upward, and tilt your pelvis toward your rib cage. Your shoulder blades will be drawn away from each other, and your belly will be drawn away from the floor. Then, allow your head to tilt to the ground.
- Repeat these poses for 5 to 10 times per day.
The ‘Child’ Pose
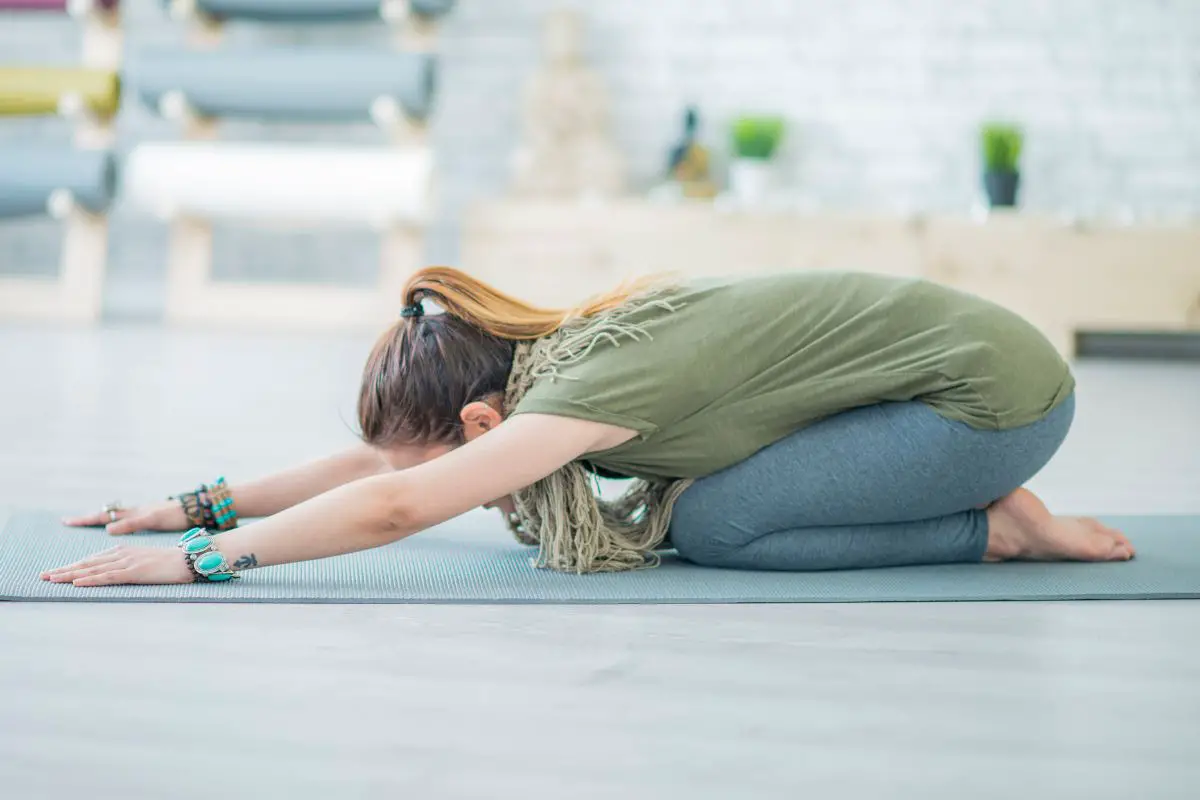
The Child’s stance is a relaxing, basic yoga pose that enables the spine to lengthen while the participant relaxes on their knees.
- Begin by crouching on your knees and softly resting your hips and buttocks on your legs and feet.
- After that, widen your knees to a comfortable distance apart before folding your body forward and bringing your chest down to your knees. Try to rest your forehead against the floor, but don’t force yourself if you can’t stretch this far on your first try.
- Stay in this position for 20 to 30 seconds before pulling yourself back into an upright position.
The ‘Cobra’ Pose
If you’re not used to stretching, the cobra posture focuses on active back bending, which can be difficult for individuals with back discomfort.
- Begin by laying on the floor, face-down, with your legs extended and the top part of your feet resting against the ground.
- Bend your elbows, and tuck your arms into your body after placing your hands beneath your shoulders, with your fingertips pointed straight outwards.
- While your spine stretches and your chest raises, use your buttocks and leg muscles to help propel your legs and feet into the ground, giving assistance to your lower back.
- Lightly elevate your head, and then your chest, from the floor, while deeply exhaling at the same time. Only stretch as far as you can while feeling comfortable.
- Hold this position for around 20 to 30 seconds, before slowly returning to your original position. You should repeat this pose four more times.
The ‘Latissimus Dorsi’ Stretch
This stretch can be done sitting or standing, and it’s vital to keep the spine long and the chest elevated.
- Decide whether you would prefer to sit or stand for the pose. Then, raise your right arm up above your head, keeping it straight.
- Next, bend the elbow of your raised arm, allowing your right hand to descend to your upper back.
- Use your left hand to lightly hold onto your right elbow, and pull the whole arm to the left.
- Keep in this position for 20 to 30 seconds, allowing the muscles to stretch out. Once this time has passed, repeat the stretch on your left arm.
The Passive Back Bend
A back roller, a foam noodle, or a yoga mat are all good options to use while performing an effective passive back bend.
- Place the back roller, foam noodle, or whichever product you are using, on the floor.
- Lie down on the floor, and rest your shoulder blades on top of the rolled up item.
- Stretch your arms straight away from the body, placing them at a 45-degree angle.
- Hold this position for a minute or two, before resting.
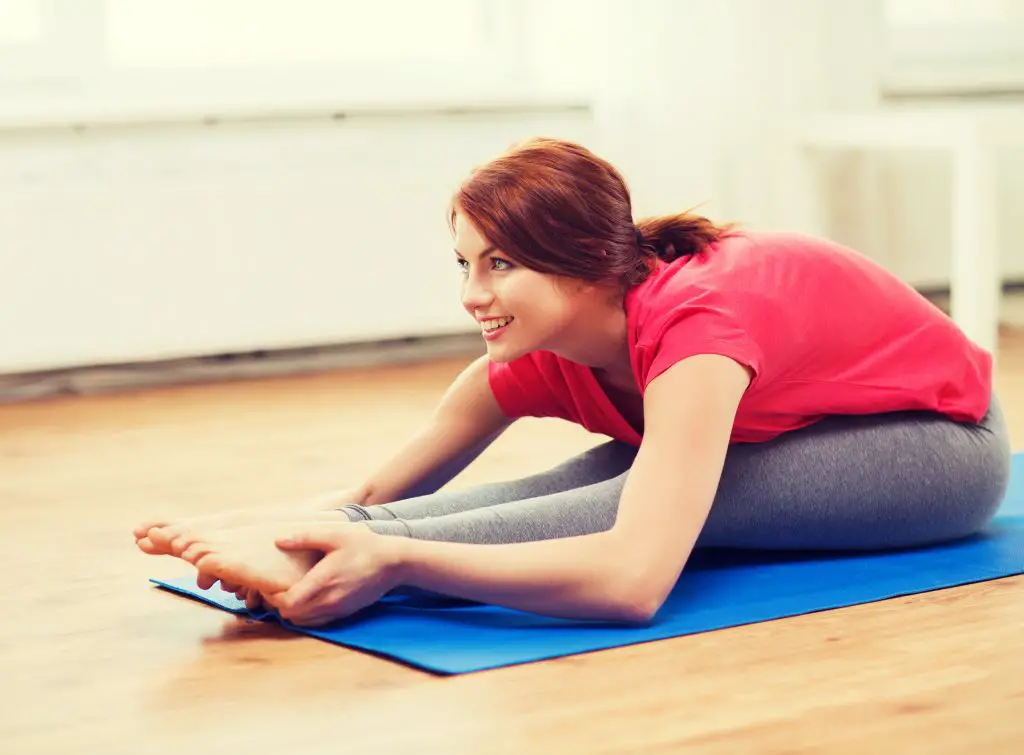
The ‘Seated Twist’ Stretch
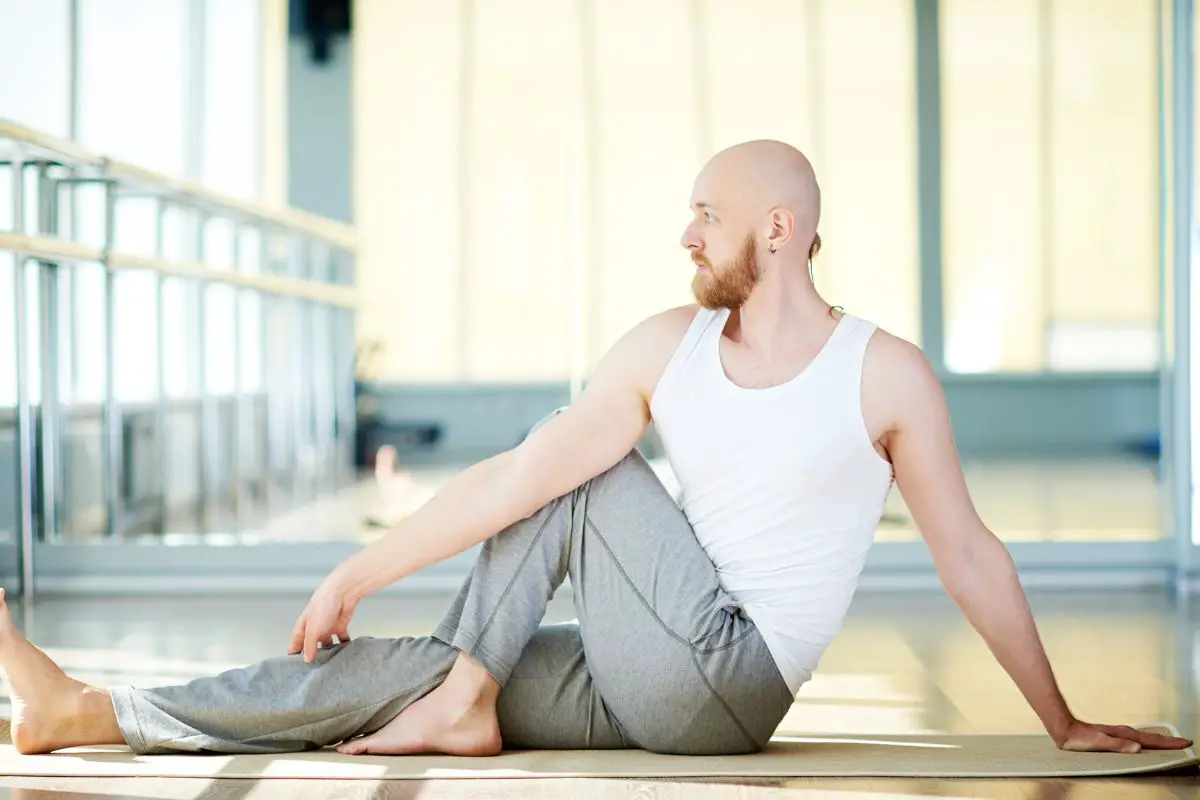
The seated twist stretch can assist you in finding out how stiff your mid back muscles are, and will also progressively expand your range of motion in both orientations.
- You can either perform this stretch on the floor, or on a suitable chair. Sit down with your legs either crossed or stretched outwards, and sit with your back up straight.
- Slowly and gently twist to the left, placing your right hand on your left knee and your left hand on your back to provide support to your upper body.
- Hold this position for 20 to 30 seconds before resting, and then repeating on your right side.
Final Thoughts
So, there we have it; those were our top 7 picks for stretching your middle back. We hope you find some comfort after practicing these poses.
It is important to remember that these poses are not immediate cures, and it may take a couple of weeks before they begin to show any effect. Stick at it, and hopefully you will feel some relief in no time.
We hope you found this article helpful.