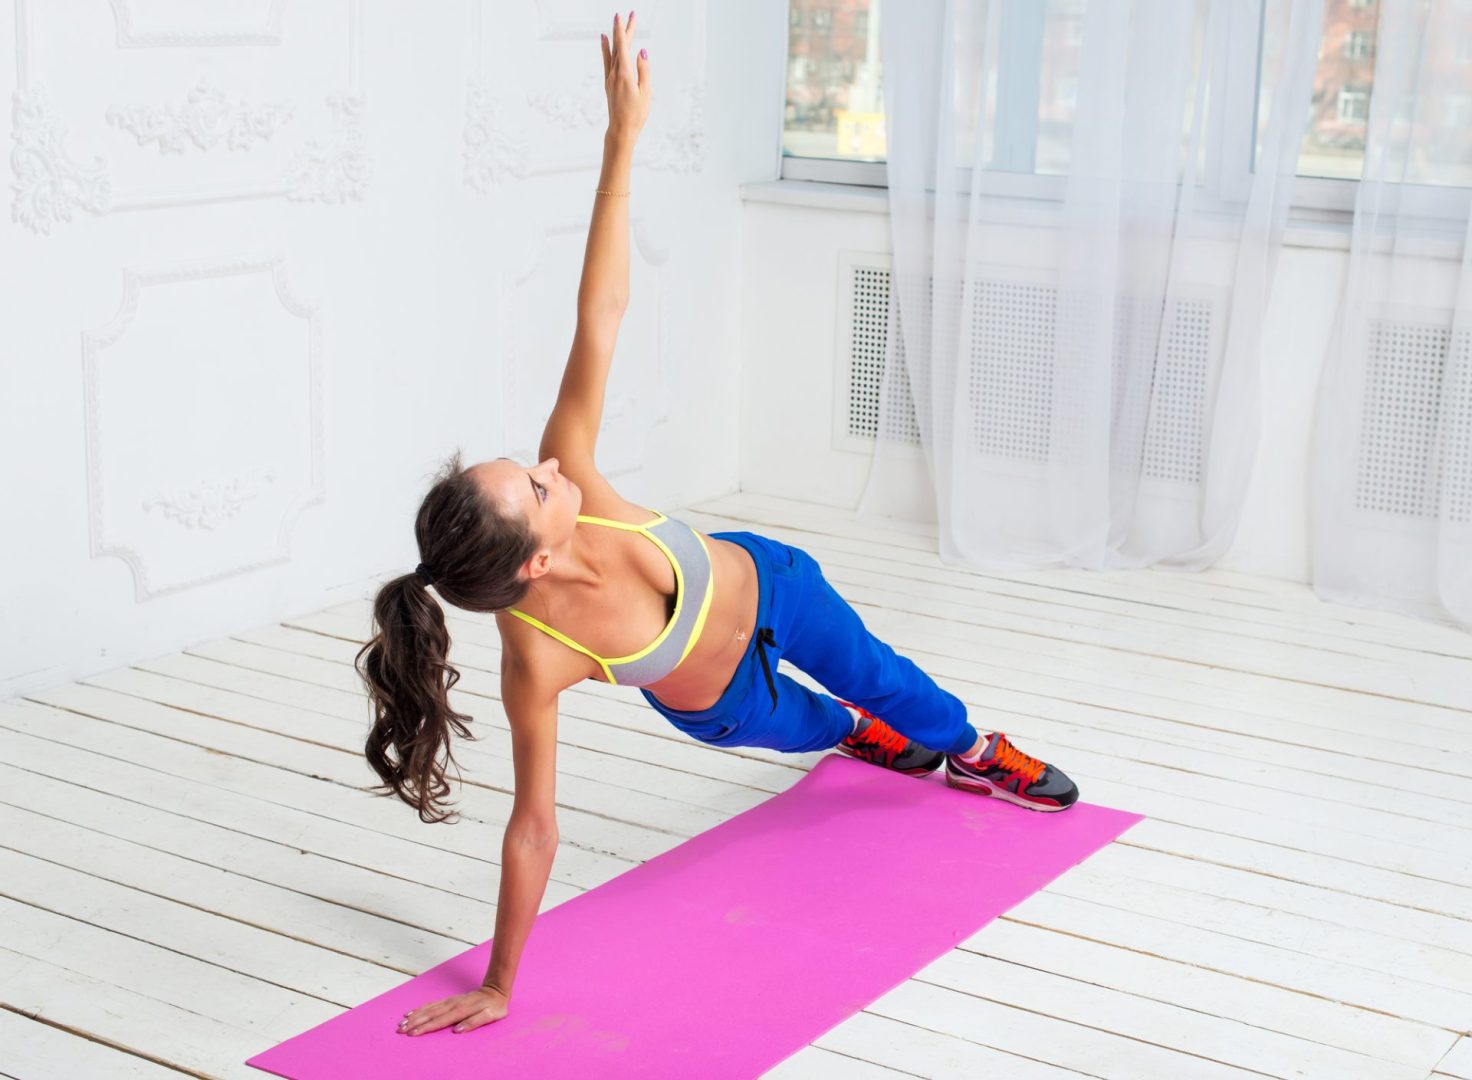
How To Do A Bridge?
Also known as a shoulder bridge, the bridge is one of the fundamental moves taught in every pilates class.
In fact, it is one of the first moves you are taught. This is because it is easy to do and has a lot of benefits.
Being a simple move it means there are many variations and progressions for the more advanced learners.
It is not only a beginning move in pilates, but also a staple stretch across many exercises and warm-up routines.
In this guide you will learn how to properly perform a bridge to reap all the benefits of it, and also what those benefits are.
For those who already know how to do a bridge then we have also included some variations for you to try out.
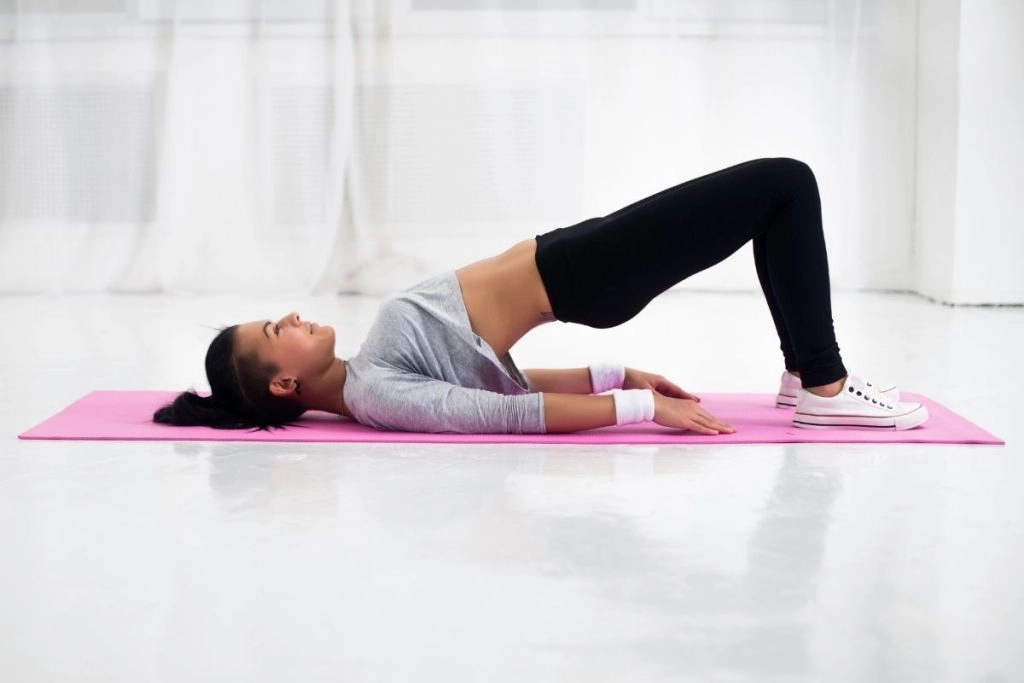
Steps To Perform A Bridge
- Set up your pilates mat on a flat bit of flooring.
- Lie down on your back with your knees bent at about a 90 degree angle.
- Have your feet flat on the floor and about hip width apart.
- Make sure your feet are not too close to your butt, and not too far away either. You want to avoid pulling a hamstring. Try putting your feet at different distances to your butt until you are comfortable.
- Place your arms flat on the ground by your side. Your palms should be facing down.
- Your pelvis should be in a neutral position.
- Breathe in, and then on the exhale engage your glute muscles.
- Tilt your pelvis backwards and lift your spine off the mat and into the bridge position.
- There should be a straight line from your shoulders to your knees. Don’t lift your hips too high.
- It should feel like you’re sending your tailbone to the back of your knees to avoid any back pain.
- Don’t come up onto your neck as it can cause injuries. Your weight should be supported on your shoulders and feet.
- Breathe in and then on the exhale slowly lower back into the starting position.
What Are The Benefits Of Bridging?

It is pointless doing stretches and exercises if you don’t know what the actual benefits are. Especially if you want to target certain muscles in your body.
The bridge helps to improve your torso and core stability. If you have poor balance then these are the parts you should be focusing on.
Repeatedly lifting your hips and stretching your back will strengthen the extensor muscles in them. Over time this will also improve your posture.
This move will also help the mobility of your lumbo-pelvic region and your spine. Specifically your often stiff mid-spine which will help reduce future back pain.
Of course this move also has the added benefit of making your butt look great.
By tightening your glute muscles as you perform your move it will perk up your butt to make you look good in any jeans.
Physical therapists frequently recommend this stretch for their patients. For people who are prone to knee and hip diseases it can help reduce them over time.
Unlike squats, the bridge is performed lying down which is extremely beneficial for people who have back problems.
Speaking of back problems, the bridge is great for relieving lower back pain.
So if you are part of the millions of workers who are desk bound, then you know the pain of hunching over a computer all day and would definitely benefit from this stretch.
Like any pilates move it also helps you to empty your mind and focus on strengthening yourself mentally.
The strict breathing involved in performing the bridge will help you center yourself and relax.
So if you are stressing over an event then doing some breathing and stretching exercises will help your mind and body.
By improving your body it will also naturally help with your confidence.
When your posture improves it means you stand up straighter and will reduce your slouching which will make you feel taller and prouder.
Variations And Progressions Of The Bridge
- Single leg variation – Put your hands on hip bones instead of the ground, so you can test your hip stability. Come up into the bridge position. On the inhale lift one knee up towards your chest. Don’t let your hips drop or twist. Repeat on the other side.
- Raising heel/tip toe heel – When in the bridge position, raise one heel and then lower it again. Repeat on the other side.
- Leg extension – When in the bridge position, on your exhale extend one leg. Ensure that your bottom is still raised. Repeat on the other side.
- Leg extension with leg lift – Same steps as the leg extension, but when extending leg go further until your toes are pointing towards the ceiling. Repeat on the other side.
- Raising arms above your head – When in the bridge position, extend your arms towards the ceiling. Keep your arms in this position as you’re lowering to the ground. When your bottom touches the floor then you can lower your arms back to the start position
- With blocks – Put your feet on blocks before performing a basic bridge. This will help to stretch your spine. The higher the blocks the more your spine will stretch.
Conclusion
Ask anyone and they will tell you to master the basics before moving on. The bridge is one of those basics. By just doing a few reps a day you will hone in your skills and also improve your body.
We recommend avoiding this stretch if you have injuries that affect your back, neck, knees and ankles. Also if you’re heavily pregnant or have just given birth.
Aside from those few caveats, bridging is great for everyone! They are easy to perform and have an abundance of health benefits.
So why not take the first step in moving without pain by joining a pilates class today.