Exercise
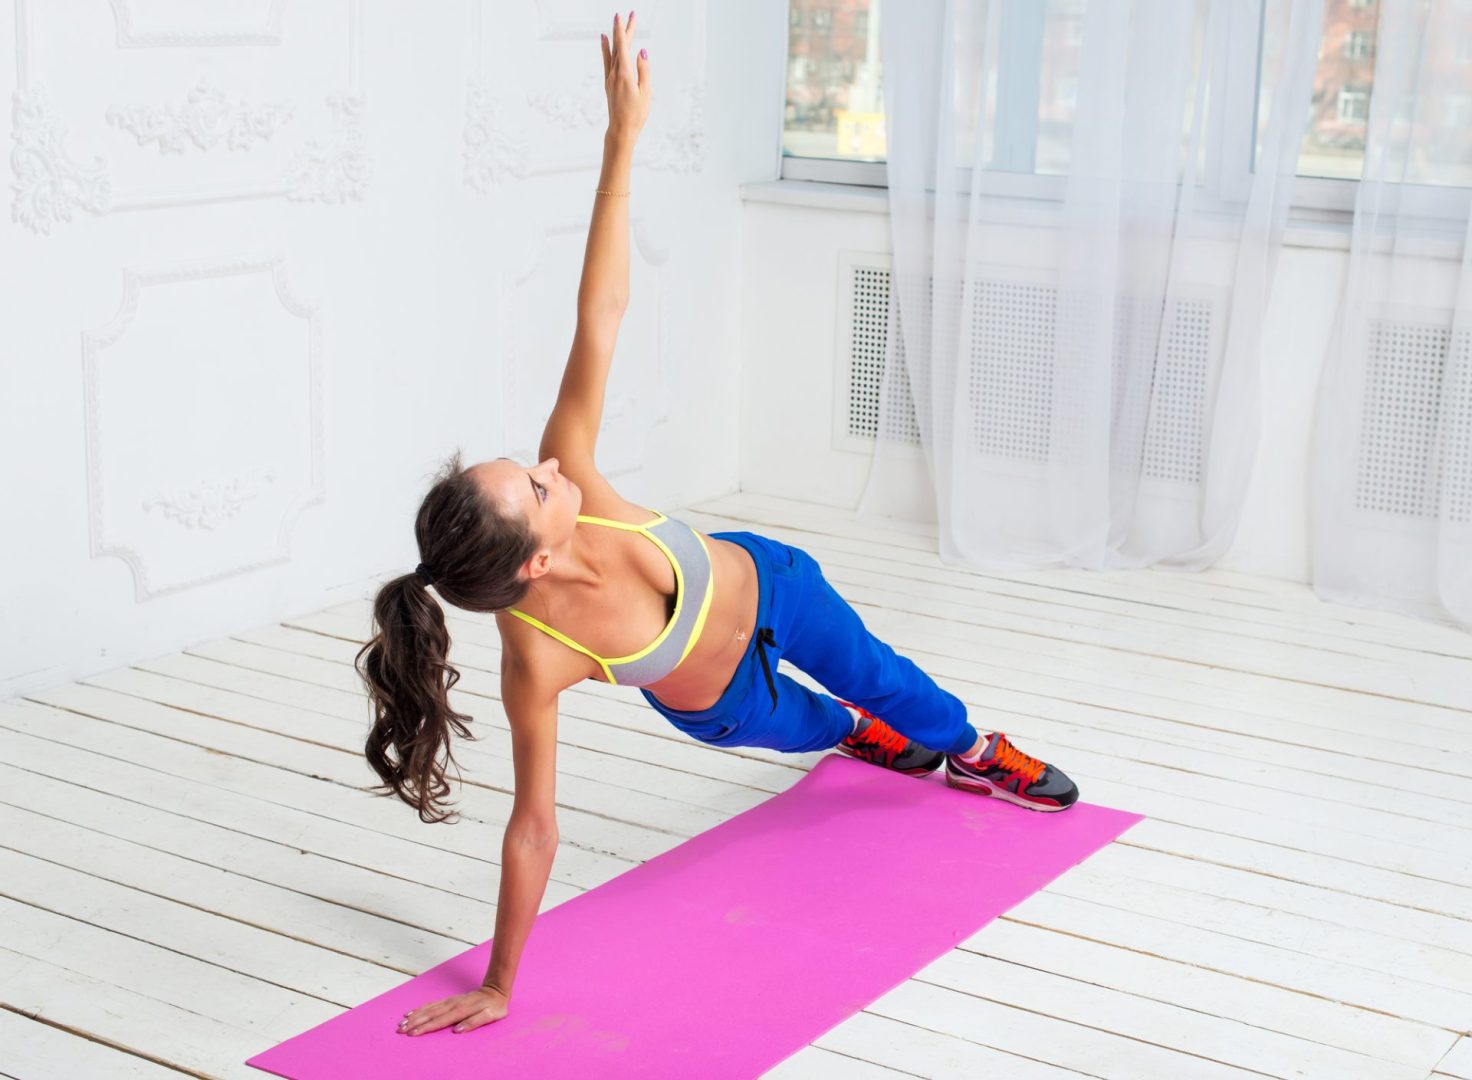
Pilates has become a very popular form of exercise with people of all ages and backgrounds.
It’s a whole-body exercise that can help you build not only strength in your muscles, but will also improve your functional mobility.
It’s a low-impact exercise that everyone can benefit from and it can help you move with more freedom and less pain.
One part of the body that can especially benefit from Pilates is the hips. So many of us suffer from hip pain and there are a large number of reasons why our hips can cause us this pain.
Thankfully, Pilates is an excellent form of exercise for hip pain and can be of benefit in several different ways. It can help improve our range of motion and add more flexibility to our bodies.
In this article, we will introduce 5 hip mobility exercises that will improve your range of motion. You can improve your flexibility without causing any pain with these exercises!
Let’s get started!
1. Bent Knee Opening
This is a great and simple exercise that anyone can do.
It will help you to get more mobility in your hips and you should find that with consistent repetition, your movement will increase.
It will also work your oblique muscles as well.
Begin by lying on the floor on your back, with your knees bent and your feet gently planted on the floor.
Your legs should be roughly hip-width apart. Keep your shoulders and lower back on the floor and take a deep breath in and out.
Inhale slowly as you allow your left knee to fall to the side and toward the floor.
Exhale slowly as you pull your knee up and return it to its original position. Repeat on the other side. Complete this exercise eight times on each side.
Don’t force your knee to touch the floor, just allow it to fall to a degree that is comfortable.
When you first try, you may only have a small range of motion and that is fine! Don’t strain your hips or your thigh muscles and force your leg further than it is comfortable.
Allow the weight of your leg to take it as far as it will safely go.
It’s natural that your hips will shift a little as you make these movements but it should only be a weight shift.
Your pelvis and hips shouldn’t physically move and should remain settled as you allow each leg to fall and rise.
2. Femur Arcs
This is a very classic Pilates exercise that helps to make your hip movements more smooth and more controlled.
The movement will also work your abdominal muscles and help to strengthen your core.
Begin by lying on your back with your knees bent. Your legs should be around hip-width apart and your feet should be on the floor.
Make sure that you are lying in a relaxed and neutral position so that your hips and spine are all in alignment.
Ensure that your left foot remains down on the floor and lift your right foot so that it hovers above the floor.
Slowly lift your right leg while keeping your right knee at a neat 90-degree angle. Hold your leg in position for a breath and lower your right leg down so your foot is back on the floor.
Repeat on the other side. Complete this exercise eight times on each side.
Make sure that all of your movements are slow and controlled. Both raising and lowering your leg should be done slowly so that your muscles are kept active throughout both actions.
Your body should remain in a neutral position and your back shouldn’t lift from the floor. All of the movement should be in your hip joint only.
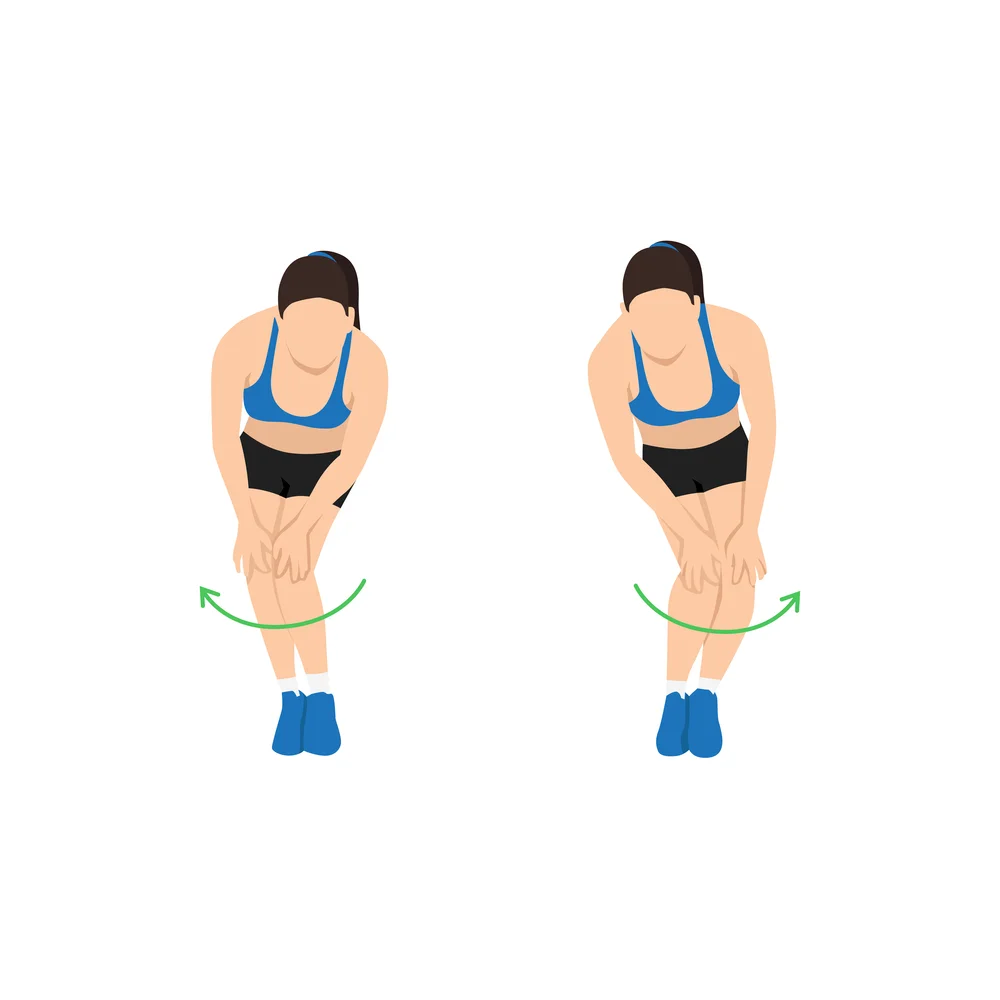
3. Knee Circles
This next exercise is great for rolling your hip bones in their sockets in a way that won’t put unnecessary strain on the joints. Keeping your hips passive is the key.
Begin by lying on your back with your spine and hips in a neutral position. Lift your knees and hug them to your chest so that your knees are bent.
You don’t need to strain yourself with this motion, just pull your knees up as far as you can comfortably hold.
With your knees in place, put your hands on top of your knees. Keep your hands on your knees and slowly push your knees away from your chest until they are roughly above your hips.
Your hands shouldn’t leave their place on your knees so as your knees move, your arms will begin to extend.
The goal is to have your arms open and extended while your thigh bone is at a 90-degree angle to your hip bone.
Keep your knees in place and allow your feet and shins to dangle. You don’t need to hold them up, they can just dangle free.
You should then move your knees in small circles in the air. The main force of this movement should come from your arms so your hip movement becomes more passive.
Perform 10 circles in a clockwise direction and then 10 circles in a counterclockwise direction.
4. Side Lying Glutes
Your glute muscles act on your hip joints to help your leg extend and rotate, so they’re an important muscle group when it comes to helping your hips.
They can support your mobility and improve it. This exercise can be increased in intensity as you become stronger and more mobile. However, we will start with an easier version.
Begin by lying on your left hand side with a pillow underneath your head. Your left knee (the knee on the floor) should be bent.
Lift your right knee (your top leg) so that it is straight and your toes are pointed away from your head.
Raise your leg up as high as you comfortably can and without pulling your pelvis and spine out of their neutral position.
Hold your leg in the air for a breath and then slowly lower it back down. Repeat eight times. Switch sides and repeat.
As you become stronger and more experienced at this exercise, you can change your starting position.
Instead of lying flat on your side, begin by resting on your elbow and propping your upper body up.
5. Hip Flexor Stretch
This is another great exercise for stretching out your hips and giving them a safe space to move.
Begin by kneeling on the floor with your left leg planted on the floor in front of you. Your knee should be out at a 90-degree angle and your hips kept in line.
Keep your back straight and tuck your tailbone as you push forward from your hips and torso. Your back should remain straight but not tight and your left foot firm on the floor.
Hold this leaning position for 30 seconds. Keep your breathing calm and even and try to take deep and slow breaths. Repeat five times before switching sides.
If you struggle with your balance when you first try this exercise, you can use a chair or wall to give you some additional support.
Make sure that your back remains straight and that all of your movement comes from your pelvis.
You should not bend your back at all and try to keep your shoulders straight instead of becoming rounded or hunched.
Why Should I Do Pilates to Improve My Hip Mobility?
There are many different types of exercise programs out there so you may be wondering why you should choose Pilates to improve the mobility of your hips.
Pilates is excellent for hip mobility because the positions and smooth movements that Pilates requires will help slowly improve your range of motion and movement.
They can build strength in the muscles that immediately surround your hips and this will support your hip joints as they move.
Pilates will also strengthen other muscles that can have an indirect effect on your hips.
You can strengthen your core and glute muscles and by doing so, you will have a more stable core area.
By being more stable, your hips will be able to move without putting strain on your body.
Unlike many other forms of exercise, Pilates is low impact so the chances of injuring yourself or causing further pain is greatly reduced.
Pilates will help you to keep your body aligned and this will also prevent injury.
Final Thoughts
In this article, we introduced 5 hip mobility exercises that will improve your range of motion.
Pilates is an excellent exercise for the hips as it is low impact and doesn’t cause any additional stress or strain to your hips, unlike most other forms of exercise.
This means you can work on improving your hip mobility and flexibility without running the risk of injuring yourself and causing any hip pain.
We hope that you found the exercises in this article to be helpful and incorporated them into your Pilates practice.