4 Pilates Moves To Achieve An Hourglass Shape And Slimmer Waistline
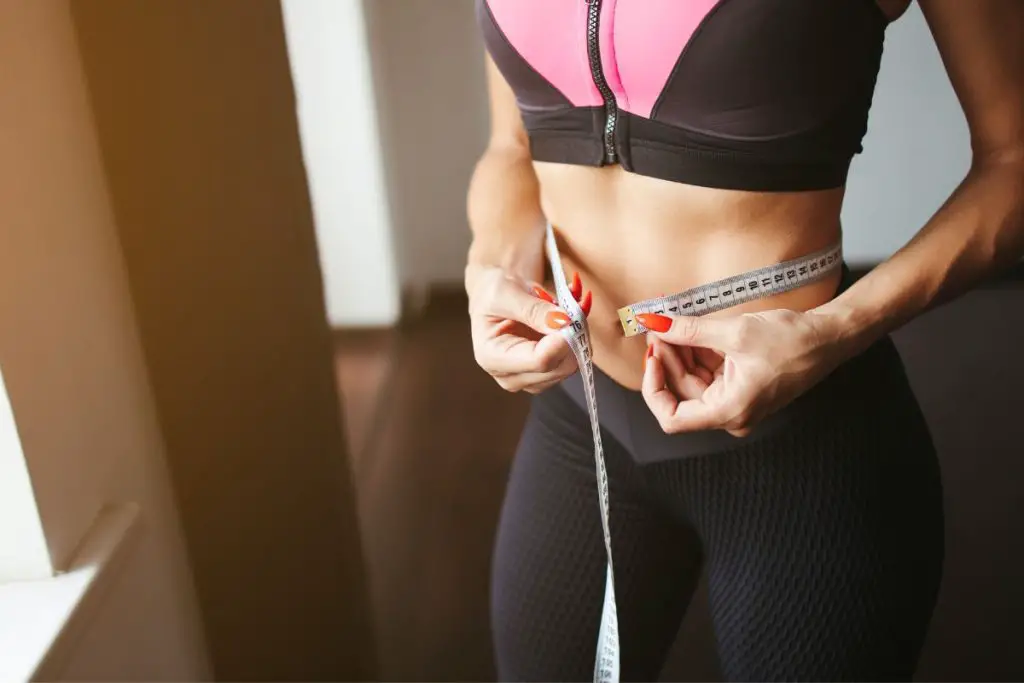
There is one common goal that is shared by millions of people worldwide – to have a slimmer waistline.
For many fitness enthusiasts, it is a constant battle of the “bulge,” trying to stay slim and slender whilst being healthy and fit.
Although the main reason behind wanting a slimmer waistline for many is to look great, it also comes with multiple health benefits.
Having too much abdominal fat can pose serious risks to your health.
Luckily, exercises, such as Pilates, and a healthy, balanced diet, can help you become leaner.
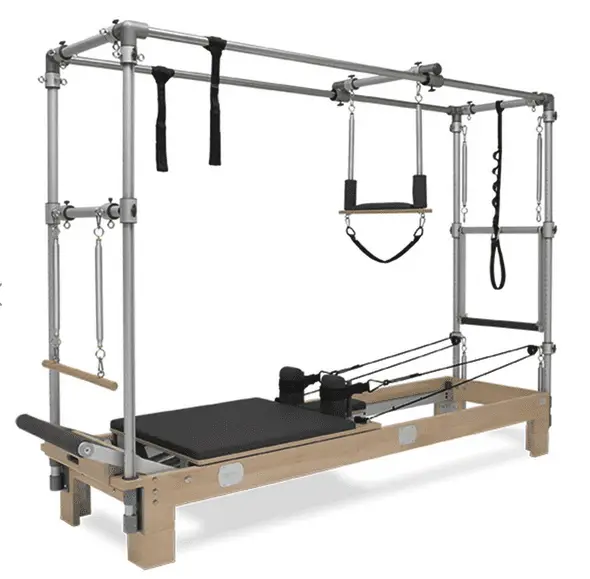
Achieving a smaller waistline takes commitment and dedication. Not only does it involve eating the right foods, but it also means doing regular exercise, such as Pilates.
These movements can work all of your ab muscles (six-pack abs), as well as your waist and deeper muscles.
Over time, Pilates can help you get that washboard stomach you have always dreamed about, and help to improve your posture for an all-round healthier body.
To burn off body fat around your waistline, you will need to focus on the internal and external obliques that are wrapped around your trunk.
These abdominal muscles need to be targeted in order to burn off body fat and tighten your waistline.
To help you get started on your Pilates journey to a slimmer waistline and an hourglass figure, we have the perfect 4 Pilates exercises to try today.
With a consistent routine and a healthy diet, these Pilates movements can be highly effective.
Best of all, they can be performed anywhere and at any time. So, get that yoga mat out and let’s start working on a smaller waistline!
Pilates Exercises To Achieve A Slimmer Waist
The Spine Twist
Here’s how to perform the Spine Twist:
- Sit on the floor and stretch your legs out straight in front of you.
- Stretch your feet and squeeze your inner thighs towards one another.
- At this point, your spine should be tall, with your torso lifting off your hips. If this is a little uncomfortable, you can slightly bend your knees, but keep your inner thighs together.
- You can either place your arms out to the side of you or behind your head (whatever feels most comfortable). By placing your hands behind your head, though, you can limit the momentum generated by your arms.
- Make sure your feet are at the same length to one another. In other words, make sure one is not longer than the other.
- With a twisting motion, move your torso off your hips for three seconds (three pulses).
- For every pulse, breathe out and move further from the center.
- Isolate your obliques by removing all momentum from the area.
- When twisting your head, only do so to the extent where your torso can also stretch to.
- Repeat this on both sides, but always return to the center every time you inhale.
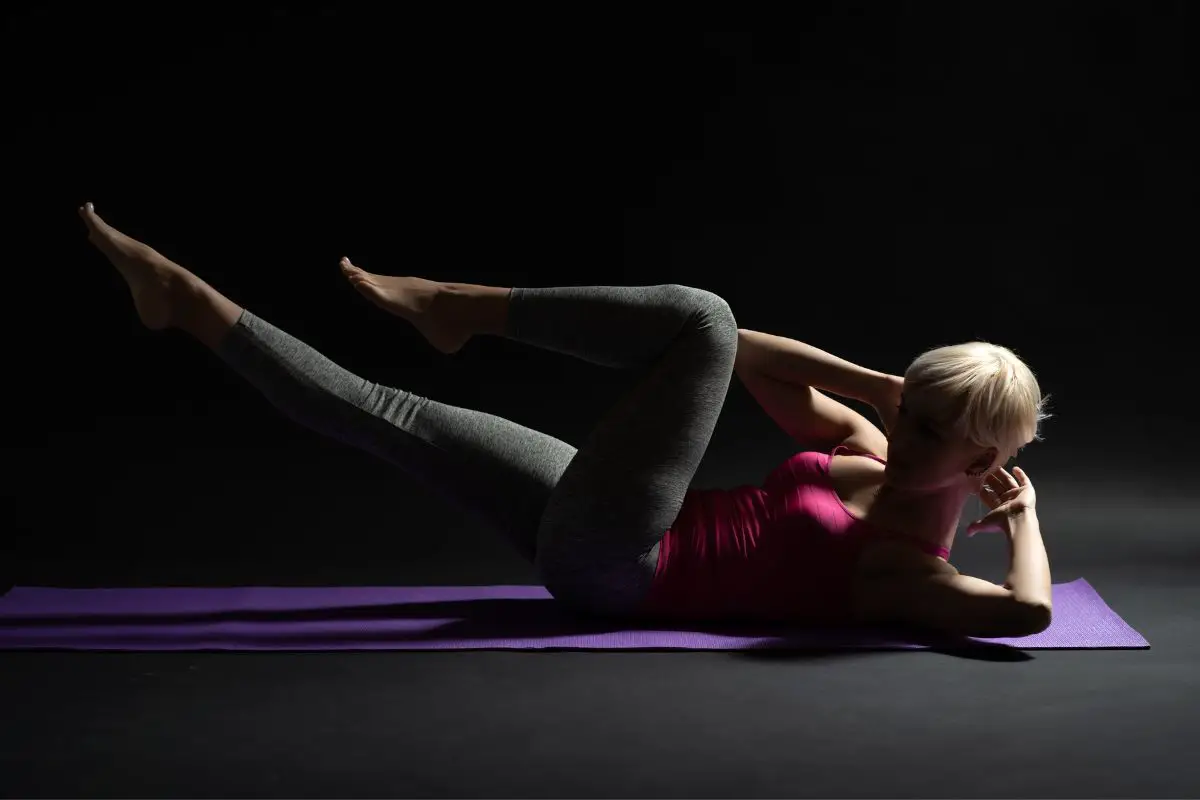
The Criss Cross
Here’s how to perform the Criss Cross Pilates movement:
- Lie down on the floor and bring your knees up to your chest.
- Lift your heels, so your shins are parallel to the ceiling.
- Place your hands behind your head, but make sure your elbows are not touching or near your ears.
- Gradually bring one leg into your chest, but simultaneously extend your other leg out straight. Here, try and stretch so you can reach your opposite elbow on the outside of your opposite knee to this. The knee will be pulled in by twisting your torso.
- Now, your navel needs to be sucked into your spine for the duration of the exercise. However, your back may be arching at this point. If so, lift your straight leg higher to get additional lower back support.
- Alternate sides for 20 reps, but ensure that both hips remain square when twisting your torso to either side.
The slower you perform a Criss Cross, the more challenging the exercise will be, resulting in stronger muscles. Just remember to breathe naturally doing the routine.
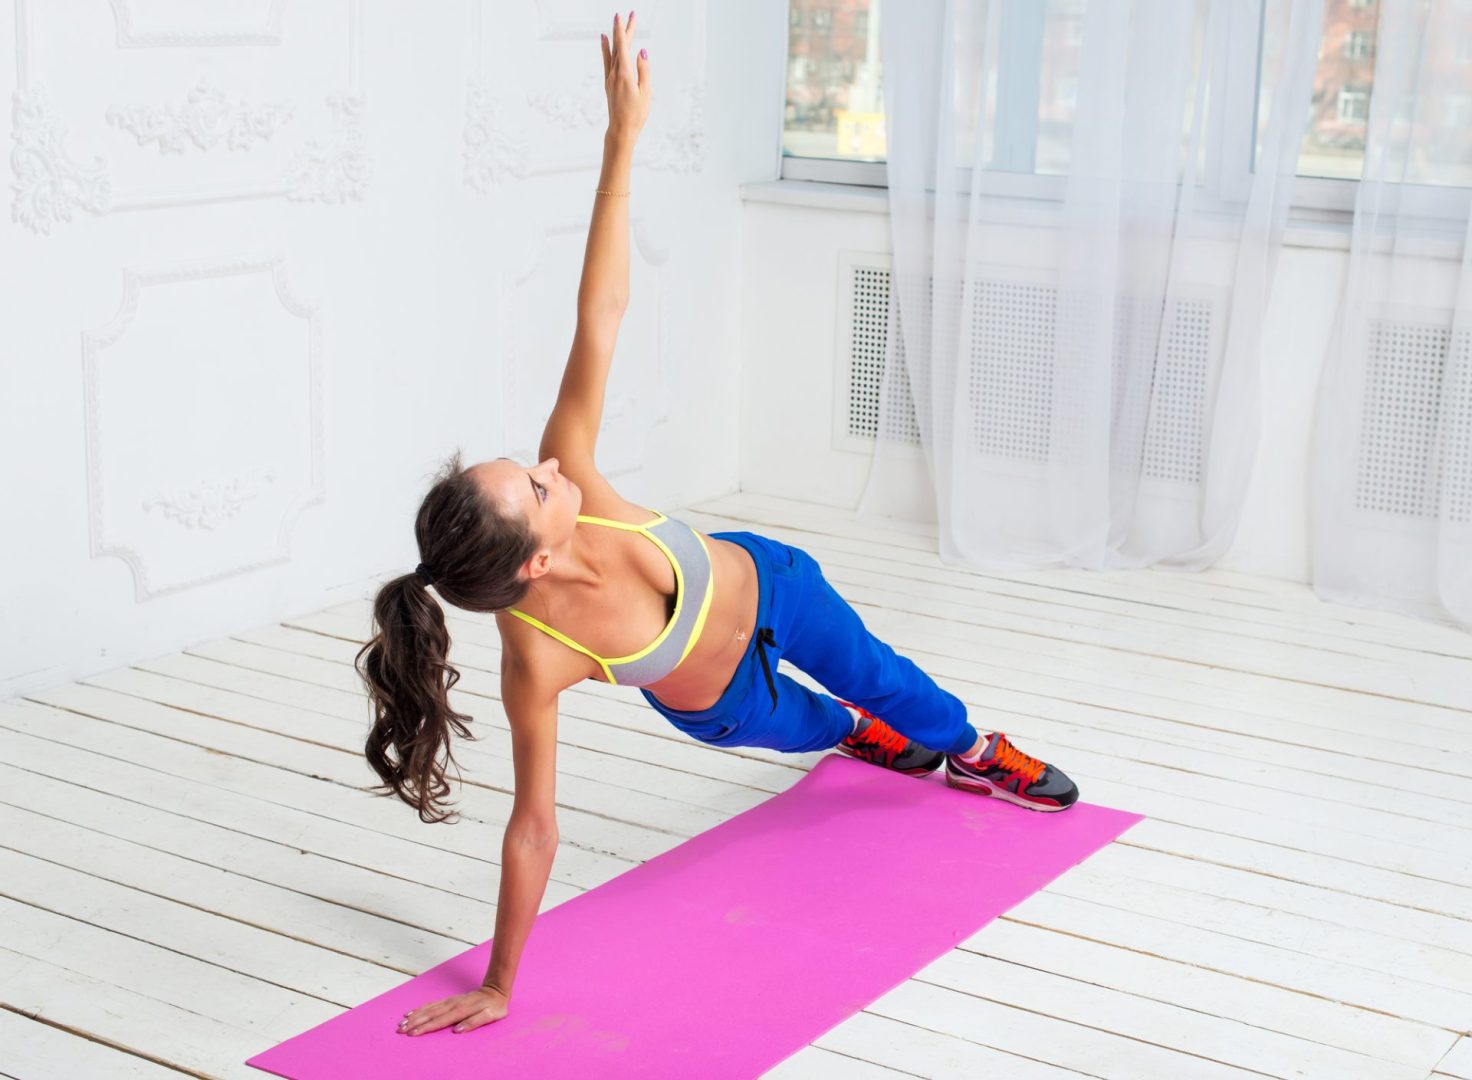
The Snake Twist
The Snake Twist is arguably the most advanced of all four of these Pilates exercises.
By performing this correctly, you will work your entire upper body, such as your lats, shoulders, and obliques.
Here’s how to perform the Snake Twist:
- Go to sit on the floor, but instead of sitting straight on the ground, sit on one of your hips with your legs bent. Your top foot should be positioned over your bottom foot, which is on the floor.
- Your bottom hand should be placed on the ground with your top hand palm up and resting on your side.
- Inhale and slowly press upwards on your hand and feet.
- Here, your hips should lift as high as you can. This is done by pulling in your oblique muscles.
- Your shoulder should be above your wrist after you have lifted to the side plank position. This will prevent any shoulder injury from occurring.
- Your arm that is on top should rise above your head, but this may be hard for some. If so, you can lower your body downward, but do not move your feet. Repeat the motion of lifting up and down, and this will help you gain and build strength.
- When continuing this movement, breathe out as your torso twists and bring your top arm under your shoulders.
- Make sure your feet do not move.
- Pull your abdominal muscles in and up. This will help to lift your hips skywards.
- Breathe in as you return to the side plank position, and then exhale as you lower your body toward the floor.
For a more advanced level of this movement, bring your legs closer into your body.
All you need to do is adjust your feet and leg’s placements, and then repeat the exercise five times on each side.
The Side Lift
Here’s how to perform a Side Lift:
- Lay on your side with your body in a straight line.
- Slowly pull your navel in and if your back is arching, bring your legs a little forward.
- Lie down on one arm with your other hand on the ground in front. This will give you more stability.
- Squeeze your legs tightly together. Breathe in as you lift both off the floor. Lift them as high as possible without separating them from one another. The longer your torso is positioned, the better the slimming result will be, especially if you do not crunch your legs up.
- Breathe out and straighten your legs out and downwards.
- Repeat this 10 times.
If you want to challenge yourself further, you can hold your legs on the last rep before performing another 10 lifts. You can also scissor your legs if possible.
In Summary
By performing these Pilates exercises, you can work towards reducing body fat, building muscle, and improving your overall wellbeing.
But, it is important to note that Pilates exercises will not help without a healthy, balanced diet to go with them.
So, if you want a slimmer waistline or that hourglass figure, you need to eat a clean, balanced, healthy diet and perform these movements regularly.
Once you have a routine, you can say goodbye to those pesky love handles, once and for all!