Industry Insider

Teaching the ABC’s of Pilates
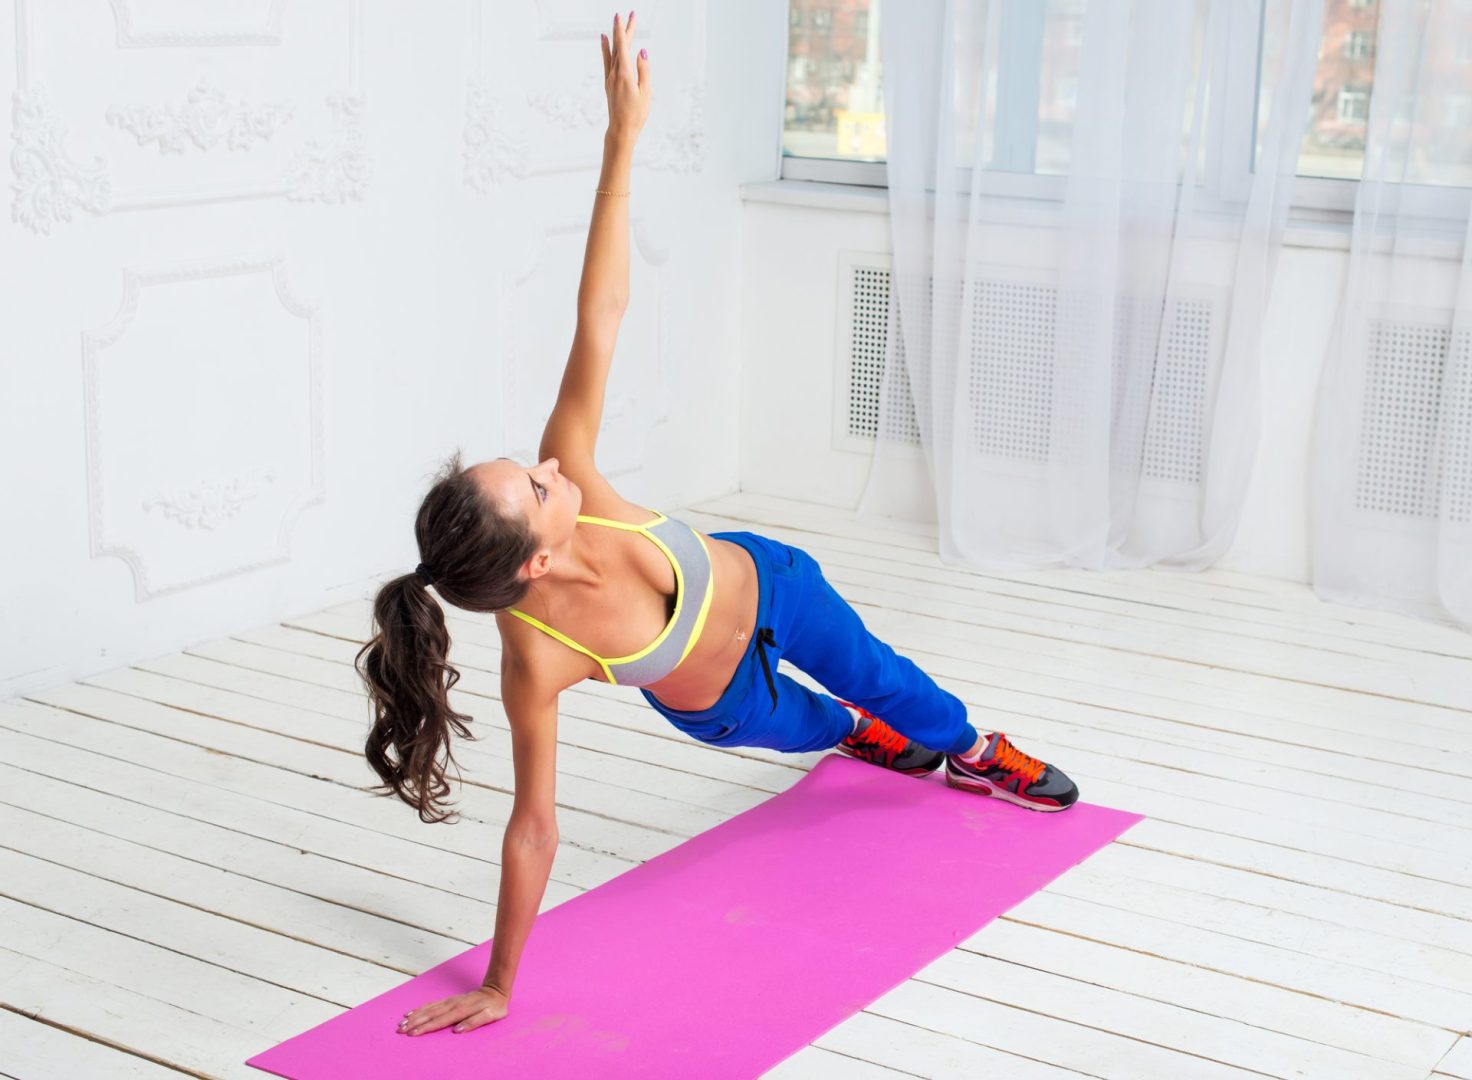
We’ve all seen it happen. Some clients can only afford a handful of private Pilates sessions. Oftentimes, these are the bodies crying out for help with pain, misalignment and poor body mechanics.
After working with thousands of clients from all walks of life, I’ve developed a unique teaching style that serves both the short-term client and the ongoing client. It uses a system of A-B-C vocabulary that is easy to remember and quite empowering for teachers and clients alike.
Here’s how it works. Begin cueing with A, then move to B, then move to C.
A = Anchor Point
These help us manage body mechanics. We anchor each movement to make it more efficient and effective. Example: arm movements need to be anchored at the armpit, so that the movement originates from the torso. Anatomically, this means the shoulder girdle sits in place, rather than shifting around, but it’s much easier to simply think, “What can I anchor with?”
Cue your clients on what body parts to use as an anchor for their movements, and you’ll notice them self-correcting when movements start to go amiss. Point out to them that in every exercise, the anchor points get stronger, as well as the working muscles, and you’ll see the light bulbs going off in their heads.
B = Body Geometry
This gives your clients clear pictures for creating proper body alignment. Everyone knows their shapes, like square and triangle; and basic directional prompts like, parallel and diagonal.
Use words like these to tell your clients how to orient their bodies, and they’ll quickly gain confidence in assessing how an exercise should feel . This new confidence often seeps into daily life as better body mechanics.
C = Comfort Options
These are the key to avoiding compensation patterns. We’ve all seen what happens to the clients who tough out holding their head up through a sequence of The Hundred before they’re ready – hello, Stiff Neck City.
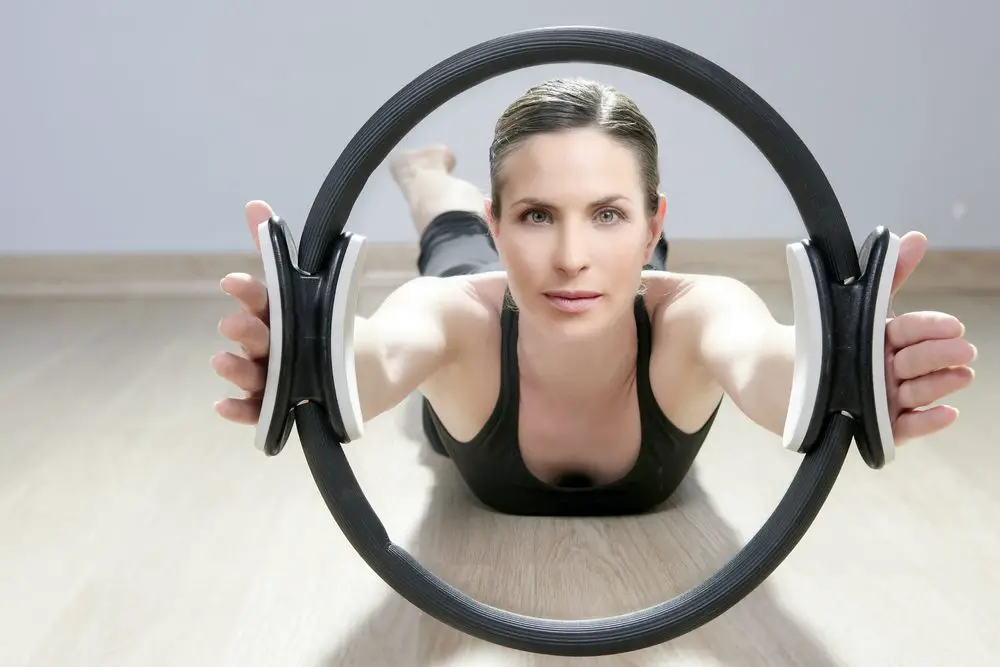
Make comfort options a normal part of your teaching pattern – like offering a magic circle to support the weight of the head — and you’ll notice clients become willing to let go of the no pain/no gain mantra. The beauty of Comfort Options is that they encourage clients to work smarter, not harder.
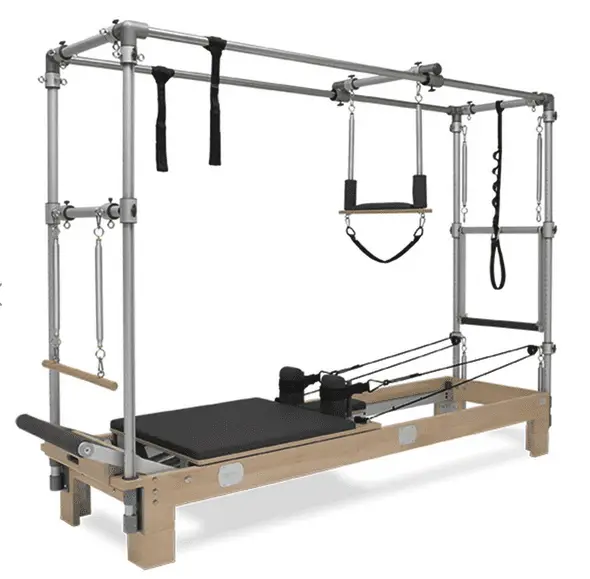
Let’s put the ABC’s into action in three commonly-used Pilates Reformer exercises.
Knee Stretch Round
Assume a kneeling position with hands on the footbar, hips shifted behind the knees, back arched.
Knee stretch correct
Anchor Point Cues
- Scoop up the belly
- Draw your armpits toward your hips
When these two key areas stay engaged – the scoop and the dropped armpits – the work of Knee Stretch Round stays focused in the core, while strengthening the serratus. Let these anchor points go, and you’ll see the armpits open, throwing energy into the legs or shoulders, instead of the powerhouse.
Body Geometry Cues
- Focus on your Diagonal Line; that is what’s moving in this exercise
- One body part moves, everything else stays stable
The hips begin farther back than the knees, so you’re creating a diagonal line which will swing back and forth from the hip. Without this diagonal, clients can easily feel confused about how to make the carriage move, often mistakenly shifting the movement pattern into opening and closing the shoulder joint.
Comfort Option Cues
- While maintaining your upper body position, sit your hips back as far as you comfortably can.
Many clients have hip or knee limitations, yet they can still perform Knee Stretch Round. They can monitor and manage the position on their own, which empowers them to do the same in daily life. Nine times out of ten, it’s far better to modify a movement pattern than to eliminate it entirely.
Low Front Split
From Knee Stretch Round position, bring the right foot forward onto the footplate. Slide the left knee back, so that you’re in a runners lunge position. The hands stay on the footbar.
Low front split correct
Anchor Point Cues
- Scoop up the belly
- Allow your back leg to stay in a low diagonal
The action of pressing the front leg out is meant to be a hamstring stretch. To facilitate this, the quads of the front leg should engage, so clients need to power from quads. Avoid powering with the back leg; that’s an inefficient use of energy and it won’t stretch the hamstrings on the front leg.
Body Geometry Cues
- The hips stay parallel to the footbar.
The goal of Low Front Splits is to fully extend the front leg, to stretch the hamstrings. When the hamstrings are tight, the body may compensate by hiking a hip up to allow the leg to straighten. This is a sign of a compensating hip and can lead to SI joint issues. Use the Body Geometry cue to tell them when to manage their range of motion.
Comfort Option Cues
- Extend your front leg as far as it goes without losing your Body Geometry. If it doesn’t straighten today, simply be consistent with your practice. It will straighten in the future.
Comfort Options can also tell clients when their range of motion may differ from session to session.
Shaving
Sit cross-legged; bring your hands to the base of your skull. Keeping the spine straight, hinge at the hip to about 60 degrees.
Shaving on box
Anchor Point Cues
- Scoop up the belly
- Corset the ribcage; knit your ribs inward
- Draw your armpits toward your hips
The first two cues stabilize the torso. Drawing the armpit toward the hip stabilizes the arm movement. Cue this often, and your ‘ears by the shoulders ‘clients may find relief from neck tension.
Body Geometry Cues
- Extend your arm from elbow to finger tips; everything else stays stable
- Maintain your diagonal line; the torso should stay still as the arms move
The diagonal line from hip to shoulder to extended finger tips requires the deep abdominals to work to maintain stability. Lose your diagonal line in Shaving, and you’ll put un-do stress on the low back, while diluting the work that should be happening in the triceps.
Comfort Option Cues
- Sit tall when cross-legged, before beginning your diagonal hinge. If your waistband drops backward, that’s a sign of tight hips or hamstrings. Please use the long box, so that you can sit tall.
- The hinge at the hips is a must, otherwise the body will compensate by rounding forward.
- If you’re 6 foot+, it isn’t necessary for your knees to come up by your armpits. Try adding a folded mat on top of the box, so your thighs can be parallel to the floor.
When we get the lower body situated comfortably, you’ll notice the movement pattern of Shaving improve dramatically.
The beauty of this teaching style is that it’s simple and easy to remember: A-B-C. For longtime teachers, you’ll find that you’re using the same cues you’ve always used, but you’re now categorizing them to create a logic pattern for your clients. For newer teachers, the system will help you remember what to communicate to your clients so that they have all the tools they need to progress in any exercise.
Christine Binnendyk was personally certified by Romana Kryzanowska, and is a master Pilates trainer at the Nike World Headquarters in Portland, OR. Her book, Ageless Pilates.